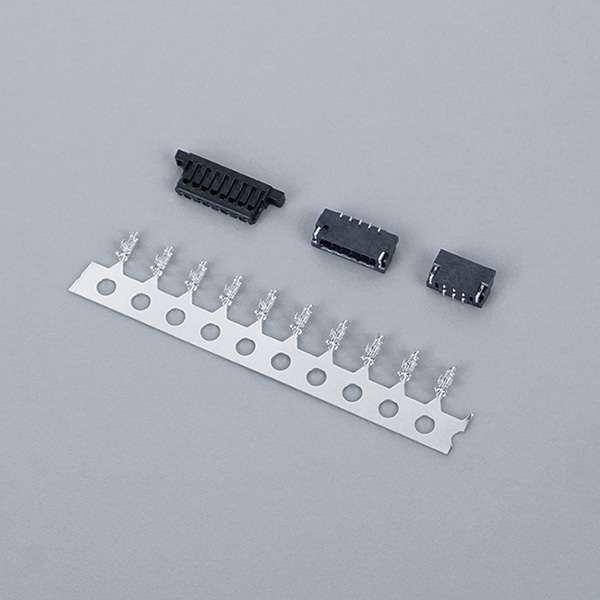
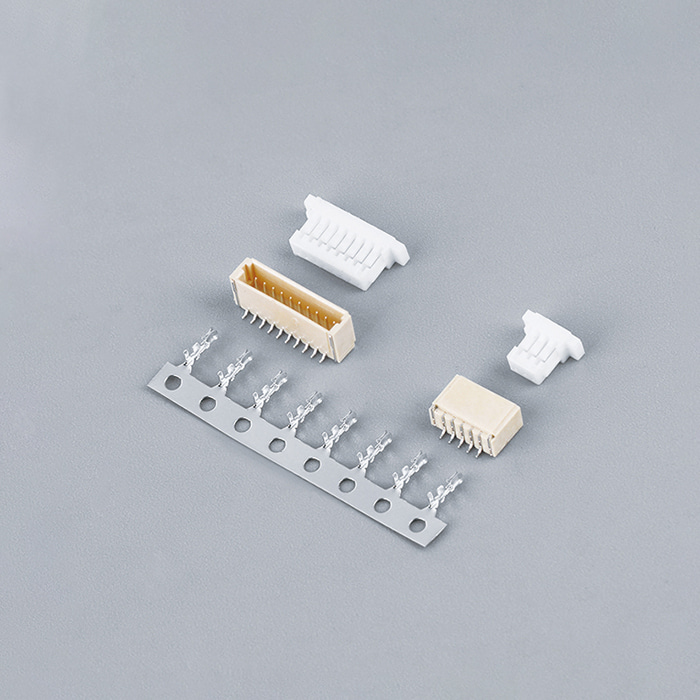
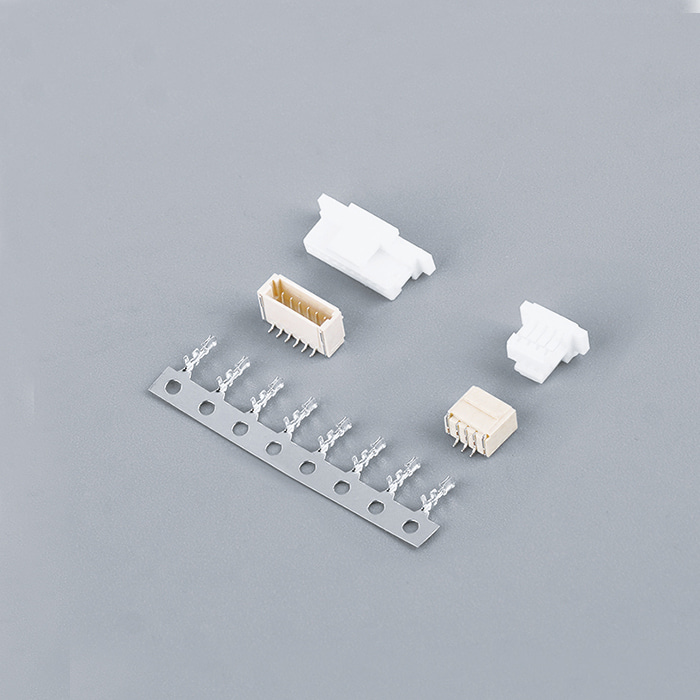
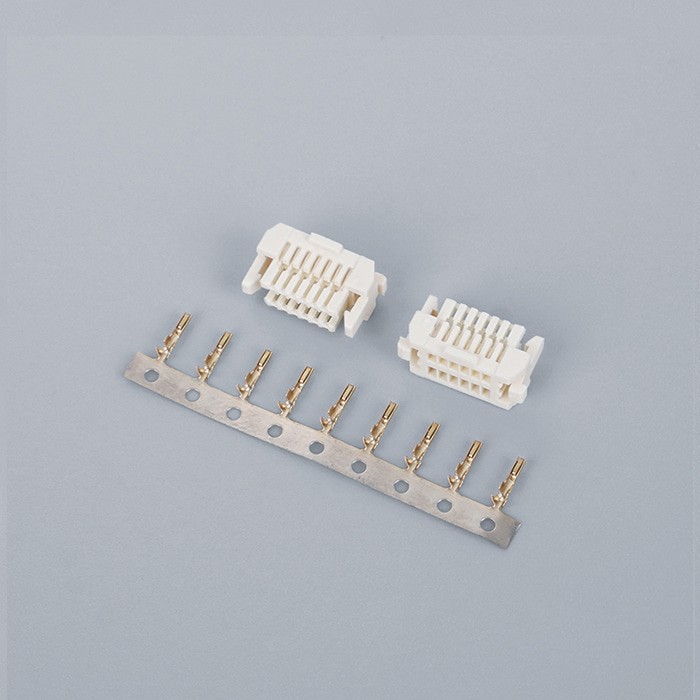
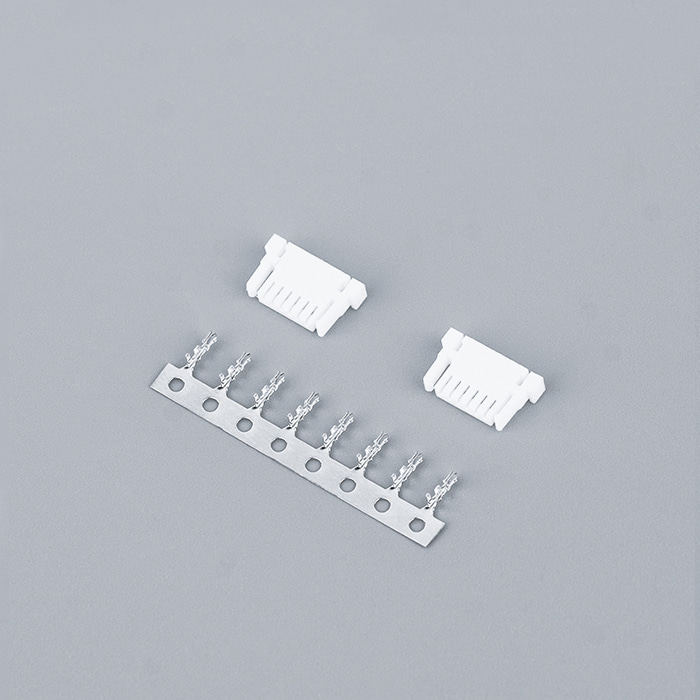
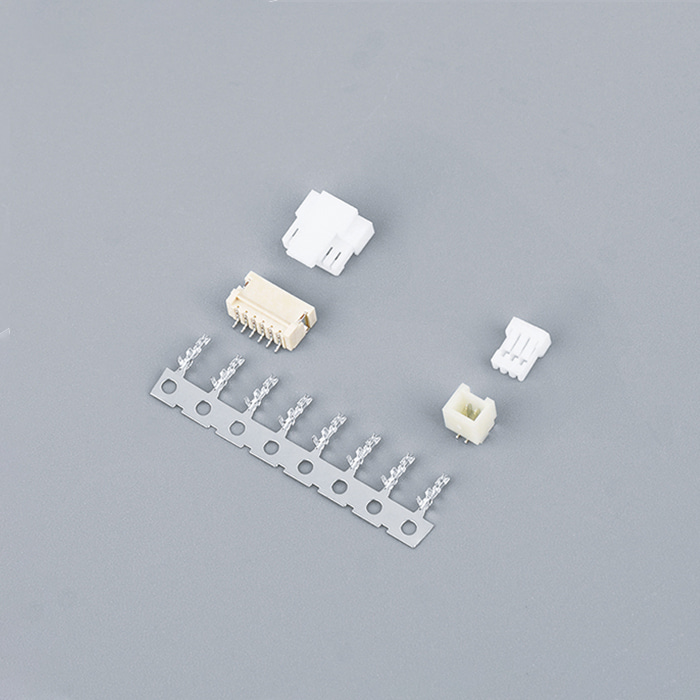
Struggling with connector assembly is a frustrating experience shared by many electronics builders, technicians, and engineers. A frequent question popping up in forums and technical communities is why the crimped terminals won’t fully insert or lock into the plastic shell of Wire To Board Crimp Style Connectors. This problem can cause unreliable electrical connections and even intermittent faults in equipment that otherwise looks properly assembled. Such concerns often relate to how the crimped terminal and connector housing interact — and understanding the root causes can save time and improve product reliability.
Assembly challenges aren’t limited to crimp style parts. Users also report similar issues when working with Wire To Board Connectors more generally, especially those with snug terminals that require precise tooling and correct pin orientation before insertion. In discussions on community forums, many suggest that misaligned or improperly crimped terminals are often at the heart of these fit issues.
1. Terminal Shape and Orientation Problems
A common scenario involves the metal terminal not aligning correctly with the cavity in the connector housing. This typically happens when:
The terminal is slightly rotated or misaligned
The crimped portion is too wide for the cavity
The terminal’s latching tab isn’t positioned to engage the plastic locking feature
Electronic builders frequently recommend visually checking the orientation of the crimp contact before insertion. Some hobbyists even gently push the terminal into the housing primary to verify the correct angle before final assembly.
2. Over-Crimped or Distorted Contacts
When the crimped portion of a terminal becomes too broad or uneven, it can physically prevent the connector from sliding in. One troubleshooting thread specifically pointed out that terminals that are too “big” after crimping often won’t seat properly inside a housing — a problem that disappears once the terminal is correctly shaped and dimensioned.
Key reasons this happens include:
Improper crimping die or tool selection
Too much force applied during crimping
Using a tool that isn’t matched to the terminal style
Maintaining the correct match between tool, terminal, and wire gauge is essential for seamless insertion into the connector body.
3. Slight Fit Is Normal — But Should Still Lock
Some connectors naturally have a tight fit — especially those designed for robust industrial or vibration-resistant applications. In fact, builders on electronics forums note that snug pins often “snug them up” only after insertion, meaning a slightly tight feel can be expected. However, this snugness shouldn’t prevent final locking and engagement.
When parts feel overly restrained:
Double-check that you’re using the correct terminal type for the housing
Ensure there are no burrs or deformation from crimping tools
Look for a small latch or catch on the terminal that clips into the housing once fully inserted
These small latching features are essential to keep the connection from backing out over time.
4. Insertion Technique and Tool Quality
Some assembly problems stem not from the parts themselves but from how they are installed. Enthusiasts discussing similar connector types often recommend a few practical techniques:
Insert the terminal while observing its position from the rear — this helps align the latch feature before pushing fully
Gently seat each pin individually before aligning all in the housing
Switch to a higher-precision insertion tool if available
Poor quality manual tools or improvised pliers often fail to position the terminal correctly during insertion, causing skewed pins or damaged locking tabs.
5. Connector Housing Variations
Not all housings or terminal families are identical, even within the same general category of Wire To Board Connectors. Slight differences in internal cavity shape, latch design, or pitch can influence how easily a terminal seats. Checking the manufacturer’s datasheet or assembly guidelines often reveals:
Correct pin orientation
Insertion depth and release requirements
Recommended tool types
These details, when followed, help avoid common misassembly scenarios.
Practical Tips to Improve Fit
Here are some widely shared practical tips from design forums and repair threads:
Lightly shape the terminal with fine pliers to ensure the latch tab isn’t pushed inward
Slide each terminal element into the housing cavity before applying full force
Use a magnifier to verify that terminals line up with housing slots before pressing home
Being methodical during assembly helps overcome many of the fit surprises that primary-time builders face.
Quality Control Matters
Consistent production quality ensures that terminals and housings fit as designed. Manufacturers such as Zhejiang Kuaili Electronics Co., Ltd. emphasize controlled tooling and assembly verification to minimize terminal-to-housing mismatch issues in products supplied to industrial and commercial applications.
Connector assembly that seems simple can become tricky without the right attention to terminal shape, orientation, and tool choice. Problems where crimped pins won’t fully enter or lock into Wire To Board Crimp Style Connectors often result from slight distortions in the crimp, incorrect terminal insertion technique, or misalignment with the connector housing. By understanding these factors and applying careful assembly practices, technicians and designers can improve reliability and help ensure the connectors stay secure over the long term — avoiding intermittent faults and the need for rework.



 English
 Español
 Türk
 فارسی